How to Create Videos Using Claude AI
Claude AI is useful for video creation, but it is important to understand what it actually does. Claude does not directly generate a finished MP4 video in the same way a dedicated video generator or editor does. Instead, Claude helps you plan the video, write the script, build a storyboard, create image and video prompts, refine voiceover copy, prepare captions, and organize everything before you move into a video tool.
That makes Claude valuable because the hardest part of making a good video is often not pressing the export button. The hard part is deciding what the video should say, how each scene should flow, what visuals are needed, and how to keep the final result clear. If you use Claude as your video planning assistant, you can move from a rough idea to a structured production plan much faster.
In this guide, I will show a practical workflow for creating videos using Claude AI. You can use it for YouTube videos, short tutorials, explainer videos, product demos, course lessons, social clips, and internal training content.
What You Need Before You Start
You only need a few tools:
- A Claude account from Anthropic
- A topic or idea for your video
- A video editor such as CapCut, Canva, DaVinci Resolve, Premiere Pro, or Final Cut
- Optional AI media tools for generated clips, images, music, or voiceover
- A place to store your script, prompts, and assets
The workflow is simple: use Claude for thinking and planning, then use video tools for production.
Step 1: Give Claude a Clear Video Brief
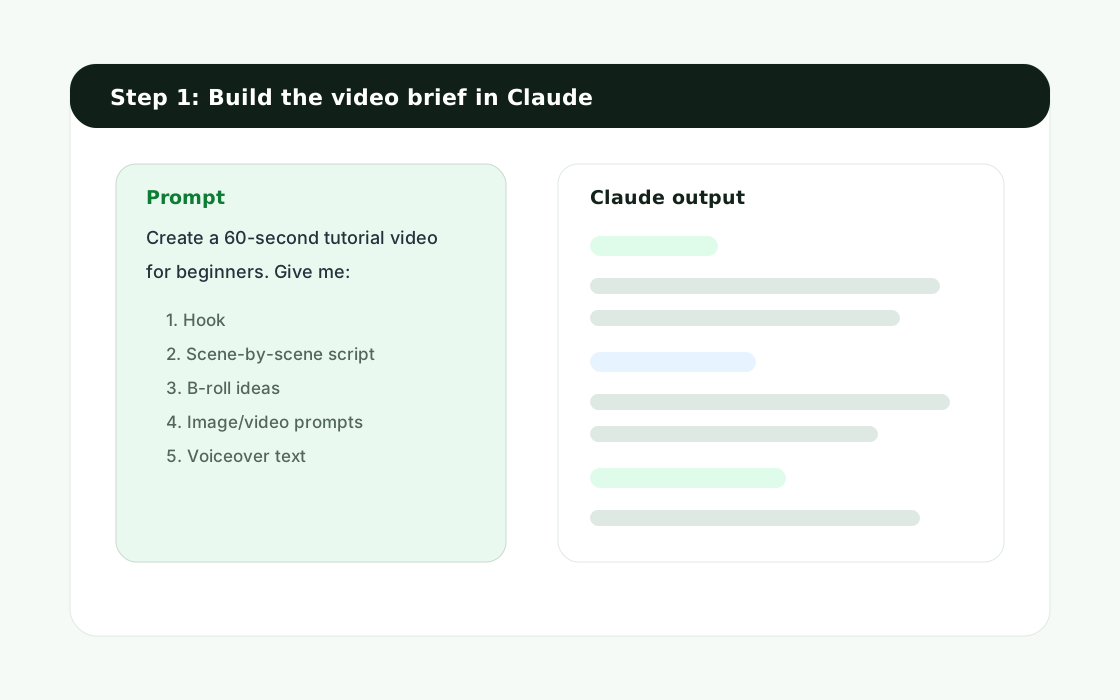
Start by telling Claude what kind of video you want to create. Avoid vague prompts like "make me a video." Claude needs context: audience, platform, tone, length, goal, and format.
Use a prompt like this:
I want to create a 90-second beginner-friendly video about how to protect a home Wi-Fi network.

Audience: non-technical people
Platform: YouTube Shorts and Instagram Reels
Tone: clear, practical, not scary
Goal: teach 5 simple security steps

Create:
1. A strong hook
2. A scene-by-scene script
3. Suggested visuals for each scene
4. B-roll ideas
5. Text overlays
6. A short call to action
This gives Claude enough direction to produce something usable. If the first output feels too generic, ask Claude to make it more specific, more visual, or more conversational.
Step 2: Ask Claude for a Scene-by-Scene Script
Once Claude understands the brief, ask for a structured script. A good video script is not just paragraphs of narration. It should include timing, voiceover, visual direction, and on-screen text.
Here is a useful follow-up prompt:
Turn this into a scene-by-scene video script.

Use this table format:
- Timestamp
- Voiceover
- On-screen text
- Visual direction
- Notes for editor

Keep each scene short and easy to produce.
This is where Claude becomes especially helpful. You can ask it to shorten the script, make the hook stronger, simplify technical terms, or change the tone for a different audience.
For example, if the video sounds too formal, ask:
Rewrite this script so it sounds like a helpful creator explaining it to a friend. Keep it accurate, but make it more natural.
Step 3: Create a Storyboard
A storyboard helps you see the video before you edit it. You do not need to draw anything. Claude can create a text-based storyboard that tells you what each scene should show.
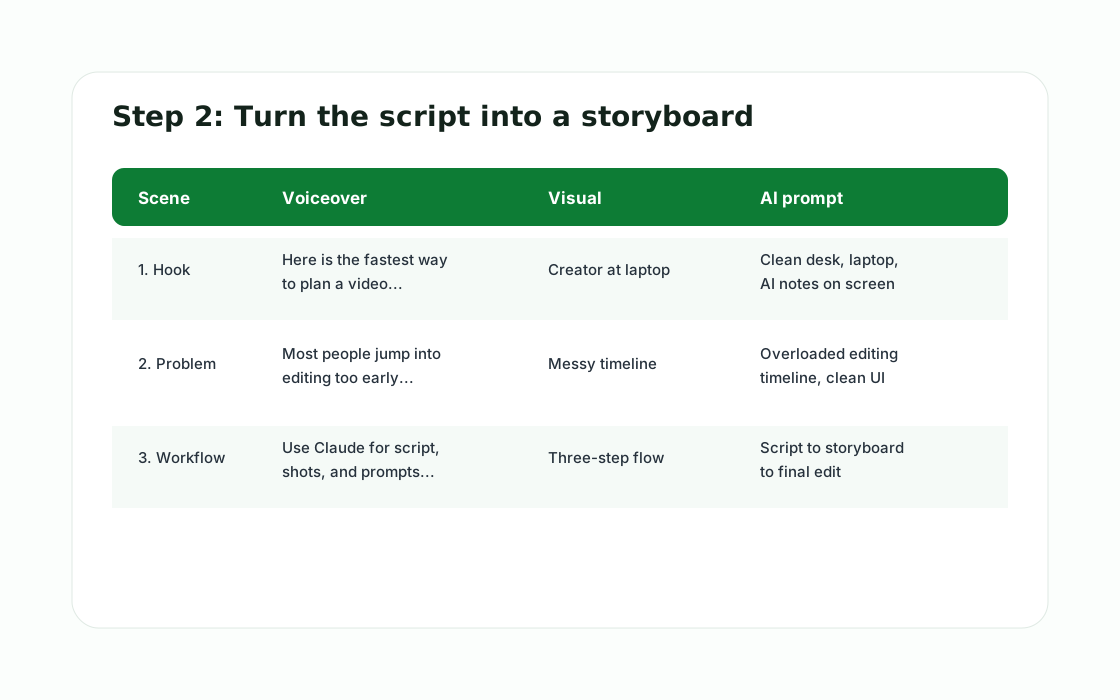
Use this prompt:
Create a storyboard for this video.

For each scene, include:
- Scene number
- Main visual
- Camera angle or composition
- On-screen text
- Motion or transition idea
- Asset needed

Make the visuals realistic for a small creator to produce.
This prevents you from getting stuck in the editor. Instead of wondering what to place on the timeline, you already have a list of shots, graphics, screen recordings, or generated clips to collect.
Step 4: Generate Prompts for Visuals and Video Clips
If you want to use AI image or video tools, Claude can help you write better prompts. The trick is to ask for prompts that are specific, consistent, and production-ready.
Try this:
Based on the storyboard, create visual prompts for each scene.

For each prompt, include:
- Subject
- Environment
- Style
- Lighting
- Camera framing
- Mood
- Things to avoid

Keep the style consistent across all scenes.
You can then use those prompts in tools that generate images or clips. If the video is a tutorial, you may not need generated visuals at all. Screen recordings, stock footage, diagrams, and simple text animations are often enough.
For technical videos, I usually prefer a mix of:
- Real screen recordings
- Simple diagrams
- Short AI-generated background visuals
- Text overlays
- Voiceover
This keeps the video practical instead of turning it into random AI visuals that look impressive but do not explain anything.
Step 5: Create a Voiceover Script
Claude is very good at voiceover cleanup. Ask it to make the script sound natural when spoken aloud.
Use this prompt:
Rewrite this as a voiceover script.

Requirements:
- Short sentences
- Natural spoken tone
- No complex jargon
- Keep the total length under 90 seconds
- Mark pauses where useful
After that, read the script out loud. If you stumble over a sentence, ask Claude to simplify it. Written content and spoken content are different. A sentence that looks fine in an article can sound awkward in a video.
You can record your own voice, use a text-to-speech tool, or create a voiceover inside your editing app. If you use AI voice tools, check the licensing terms before publishing commercial videos.
Step 6: Prepare Captions and Text Overlays
Most people watch short videos with sound off at least some of the time. Captions and text overlays make the video easier to understand.
Ask Claude:
Create short on-screen captions for this video.

Rules:
- Maximum 8 words per caption
- Use simple language
- Match each caption to the scene
- Avoid repeating the full voiceover
You can also ask Claude to create title options, thumbnail text, YouTube descriptions, hashtags, and pinned comments. This helps you publish the video faster once editing is complete.
Step 7: Build the Video in Your Editor
Now move into your video editor. Claude has done the planning, but the actual assembly happens in a tool such as CapCut, Canva, DaVinci Resolve, Premiere Pro, or another editor.
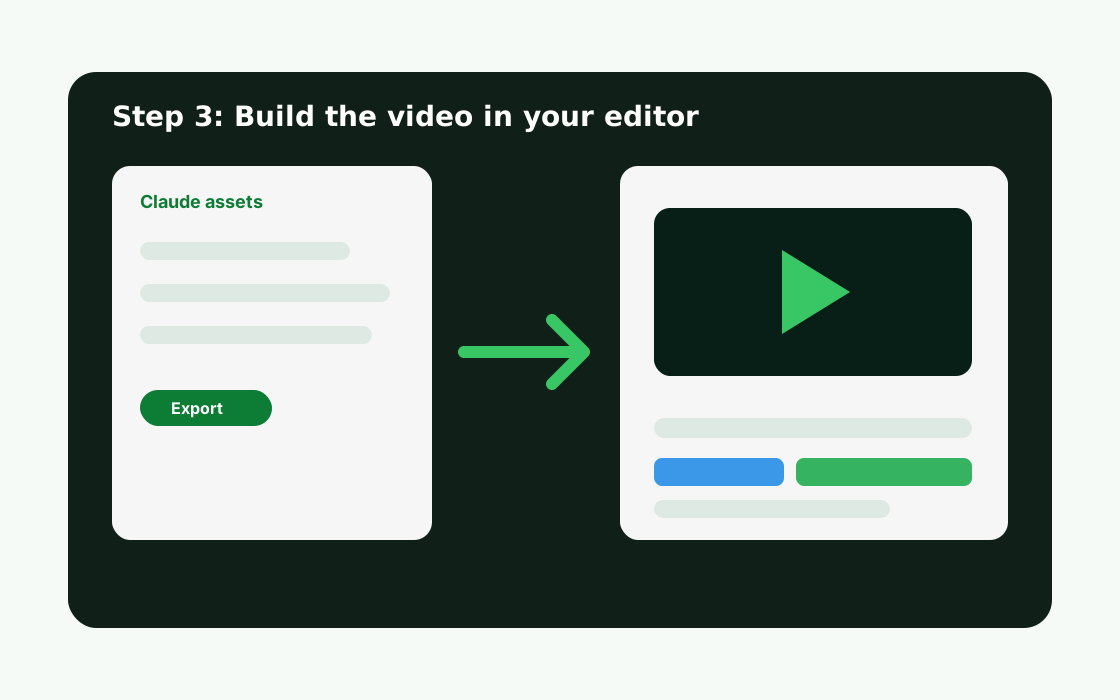
Use the storyboard as your checklist:
- Add the voiceover or narration.
- Place visuals scene by scene.
- Add text overlays.
- Add background music quietly if needed.
- Add captions.
- Trim pauses and dead space.
- Export in the right format for your platform.
For vertical short-form videos, export in 9:16. For YouTube tutorials, 16:9 is usually better. If you plan to use the same content on multiple platforms, ask Claude to adapt the same script into different formats.
Step 8: Ask Claude to Review the Final Plan
Before publishing, paste your script or final outline back into Claude and ask for a review.
Review this video script and storyboard before I publish.

Check for:
- Unclear explanations
- Weak hook
- Missing steps
- Repeated ideas
- Better title options
- Stronger call to action
This final review can catch problems before you spend time editing. It is especially helpful for technical videos where accuracy matters.
Example Workflow You Can Reuse
Here is a simple reusable process:
- Give Claude the video topic, audience, length, and goal.
- Ask for a hook and outline.
- Turn the outline into a scene-by-scene script.
- Ask for a storyboard table.
- Generate prompts for visuals or B-roll.
- Create voiceover text and captions.
- Assemble the assets in your video editor.
- Ask Claude to review the final script before publishing.
This workflow works because each step has a clear output. You are not asking Claude to magically create a video. You are using it to remove friction from the planning and scripting process.
Tips for Better Results
- Give Claude a clear audience. A video for developers should sound different from a video for beginners.
- Ask for timing. This helps you avoid scripts that are too long.
- Request a table format. It makes the output easier to use in production.
- Ask for multiple hooks. The first line matters a lot.
- Keep scenes short. Most videos feel better when each scene has one job.
- Use Claude for revisions. The second or third draft is usually much better than the first.
Final Thoughts
Claude AI is not a replacement for a video editor, but it can make the video creation process much easier. Think of it as a planning partner that helps you move from idea to script, storyboard, prompts, captions, and publishing copy.
If you already make tutorials, educational content, product demos, or social clips, this workflow can save a lot of time. Start with one small video, keep the structure simple, and improve the process as you go.
The best result comes from combining Claude's planning ability with your own judgment. Let Claude organize the work, but make the final decisions yourself.